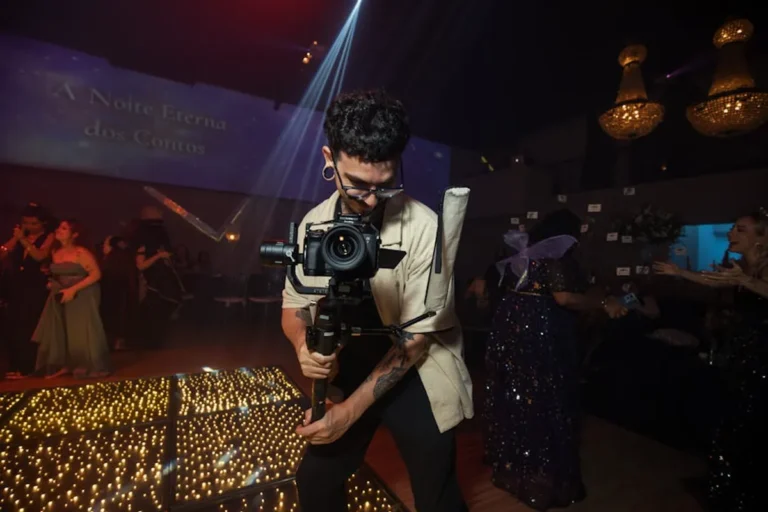
Concert tour photography demands meticulous planning and execution beyond a typical single-event shoot. The extended duration, varied venues, and constant travel introduce complexities that can compromise image quality, client satisfaction, or even equipment integrity if not systematically addressed. A comprehensive checklist is not merely a suggestion; it is an operational necessity for maintaining consistent commercial output and managing the inherent logistical challenges of life on the road. This structured approach minimizes oversight, ensures critical equipment is always ready, and streamlines the workflow from pre-production through final delivery, directly impacting a photographer's professional reputation and future opportunities.
Pre-Tour Planning and Preparation
Before any equipment is packed, a significant portion of a successful tour hinges on thorough preliminary work. This phase establishes the operational framework for the entire engagement.
Client Brief and Contract Review
A detailed understanding of client expectations is paramount. Review the contract for specific deliverables, usage rights, deadlines, and payment terms. Confirm the required image count per show, preferred aspect ratios, and any specific moments or artists that require priority coverage. Clarify access credentials, such as photo pit passes, backstage access, or stage access, as these dictate shooting positions and opportunities. Establish a clear communication protocol for on-tour updates and approvals.
Route and Venue Reconnaissance
Each venue presents unique challenges, from lighting conditions to stage layout and house rules. Researching the tour itinerary involves more than just knowing the city. Investigate each venue's specific photography policies, typical stage lighting setups, and any known restrictions. Utilize online resources, such as venue websites or other photographers' blogs, for insights into potential shooting angles or problematic areas. Understanding load-in and load-out procedures, as well as designated work areas, helps in efficient time management.
Equipment Servicing and Redundancy
Touring places immense strain on gear. Before departure, all camera bodies, lenses, and accessories must undergo professional cleaning and servicing. Check shutter counts, sensor cleanliness, and lens calibration. Crucially, implement a redundancy strategy for all mission-critical items. This includes:
- At least two professional-grade camera bodies
- Backup lenses covering essential focal lengths
- Multiple flash units and triggers
- An abundance of memory cards (formatted and tested)
- Portable hard drives for immediate backup
- Spare batteries for all rechargeable devices
- Essential cables and chargers
This proactive approach mitigates downtime from equipment failure, a common and costly issue on tour.
Essential Gear for the Road
Beyond redundancy, selecting the right tools for the job is critical. Weight, durability, and low-light performance are key considerations.
Camera Bodies and Lenses
Camera Bodies: Opt for robust, weather-sealed professional DSLR or mirrorless bodies known for high ISO performance and fast autofocus. These attributes are non-negotiable in unpredictable concert environments.
Lenses: Prioritize fast prime lenses (f/1.4, f/1.8, f/2.8) and versatile zoom lenses (e.g., 24-70mm f/2.8, 70-200mm f/2.8). These allow for sharp images in low light and provide creative flexibility for various shots, from wide stage views to tight artist portraits. Include a wide-angle lens (e.g., 16-35mm f/2.8) for atmospheric crowd shots and stage perspectives.
Lighting and Support
While often relying on stage lighting, supplementary lighting can be essential for backstage candids or specific promotional shots. Pack compact, powerful speedlights with diffusers and gels. A lightweight monopod can provide stability for longer exposures or heavy telephoto lenses without the bulk of a tripod, which is often restricted in photo pits.
Storage and Power Management
High-speed, high-capacity memory cards (e.g., CFexpress, SDXC UHS-II) are indispensable. Carry enough to shoot several shows without offloading. For power, invest in multiple high-capacity camera batteries and a portable power bank for charging smaller devices. A universal travel adapter is crucial for international tours.
Pro Tip: Label every piece of equipment with your contact information. During load-outs or hurried transitions, gear can easily be misplaced or left behind. A small, durable label on camera bodies, lenses, and even battery chargers can be the difference between recovery and loss.
On-Site Execution and Workflow
Efficient on-site management ensures maximum coverage and data security.
Venue Entry and Access Protocols
Arrive well in advance of showtime to navigate security, collect credentials, and scout the photo pit or designated shooting areas. Establish contact with tour management or venue staff responsible for media access. Understanding the specific rules for each venue—such as time limits in the pit or no-flash zones—is critical to avoid issues.
Capturing Key Moments
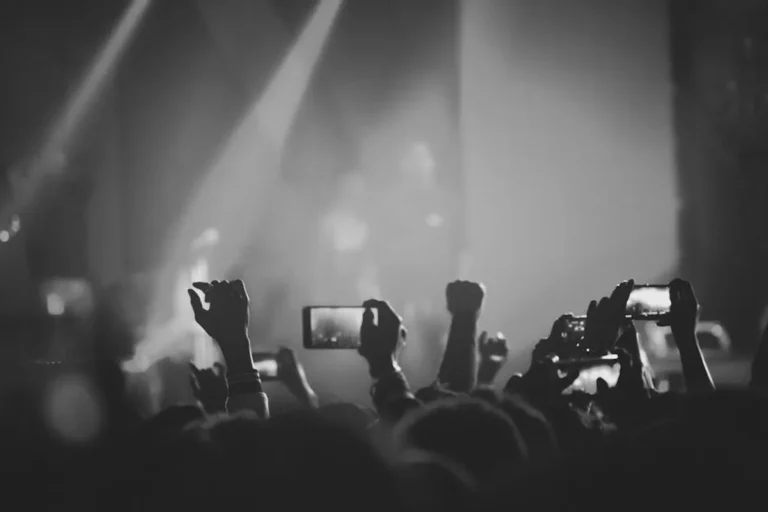
Anticipate setlist changes and artist movements. Focus on capturing peak action, emotional expressions, and audience interaction. Vary your shots: wide-angle stage shots, medium shots of individual performers, and tight portraits. Document not just the performance but also the atmosphere, crowd reactions, and backstage moments if access permits.
Immediate Backup Strategy
After each show, or even during extended breaks, immediately back up all captured images. Use a portable hard drive or a dedicated backup device. Implement a "two copies are one, one copy is none" philosophy: ensure data exists on at least two separate storage devices before formatting memory cards for the next show. Cloud backup, if internet access is reliable, adds another layer of security.
Post-Tour Deliverables and Archiving
The work continues long after the final note rings out.
Culling and Editing Workflow
Establish a consistent culling and editing workflow. Use photo management software to quickly review and select the strongest images. Apply a standardized editing style that aligns with the client's brand or the artist's aesthetic. Batch processing for common adjustments (exposure, white balance, color grading) can significantly speed up the process while maintaining consistency across the entire tour's imagery.
Client Delivery and Feedback
Deliver images in the agreed-upon format and resolution, adhering strictly to deadlines. Use a professional online gallery or file-sharing service for delivery. Be prepared for feedback and revisions, maintaining open communication with the client throughout this phase. A clear understanding of revision rounds specified in the contract prevents scope creep.
Archiving for Future Use
Once the project is complete and approved, implement a robust archiving strategy. Store high-resolution master files on multiple redundant drives, potentially including off-site storage or cloud services. Organize files logically with clear naming conventions (e.g., ArtistName_TourName_Venue_Date) for easy retrieval years later. This protects your work and provides a valuable asset for future portfolio updates or client requests.
Mastering the Tour Photography Cycle
Successfully navigating a concert tour as a photographer requires more than just technical skill; it demands rigorous organization, adaptability, and a proactive mindset. By meticulously planning each stage, from gear preparation and logistical reconnaissance to on-site execution and post-production, photographers can ensure consistent, high-quality output regardless of the challenges presented by the road. This systematic approach not only safeguards your work but also enhances your professional reputation, positioning you for continued success in the demanding world of live music photography.
Frequently Asked Questions
How much memory card storage should I bring for a multi-day tour?
Always bring more than you think you'll need. A good rule of thumb is enough storage capacity to shoot at least 2-3 full shows without offloading, plus an additional 50% buffer. For example, if a single show typically fills 64GB, bring at least 256GB in total, spread across multiple cards.
What are the most common challenges faced during concert tour photography?
Key challenges include inconsistent and often challenging lighting, strict venue restrictions on movement and equipment, limited time in the photo pit, rapid changes in artist blocking, and the physical demands of constant travel and late nights. Gear failure and data management are also significant concerns.
Is it necessary to have backup equipment for every item?
While impractical to back up every single item, critical components like camera bodies, essential lenses, and sufficient memory cards are non-negotiable for redundancy. A single point of failure for these items can halt your work entirely. Other items, like specific cables or diffusers, can often be sourced or improvised in a pinch, but primary gear cannot.
How do I handle tight deadlines for image delivery while on tour?
Establish a disciplined post-show routine. Immediately after each performance, begin culling and making initial edits to a selection of key images. Utilize portable editing setups (laptops with sufficient processing power) and fast external drives. Communicate realistic delivery timelines with your client upfront and stick to them. Prioritize essential selects for immediate release, then tackle the full set.