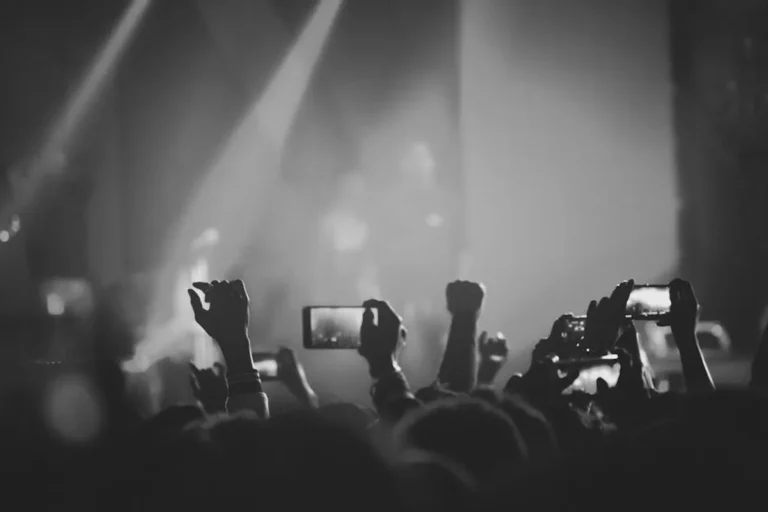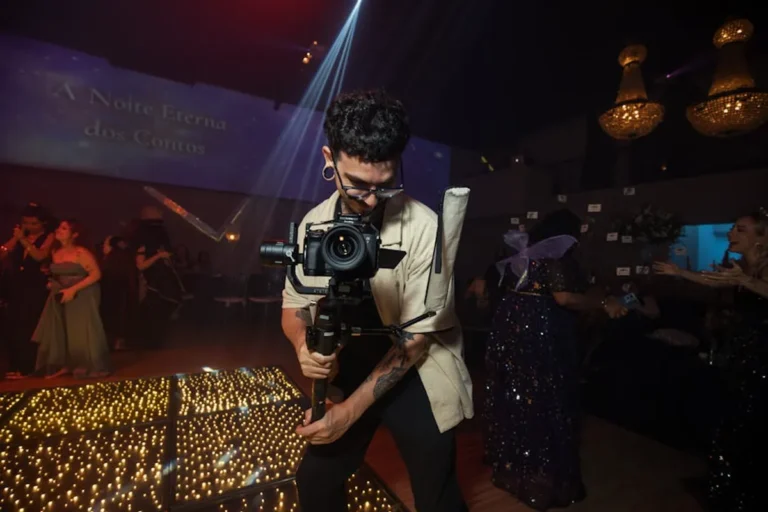
Editing concert photos presents a unique set of challenges, distinct from studio or outdoor photography. The environment is often dark, illuminated by intensely bright, rapidly changing, and often color-shifted stage lights. This combination frequently results in images with extreme dynamic range, high ISO noise, and inconsistent white balance. Effective post-processing is not merely about aesthetic enhancement; it's a critical step in salvaging detail, correcting technical flaws, and conveying the energy of a live performance. Without a structured editing approach, many potentially strong images remain unusable or fail to capture the original atmosphere.
Establishing a Workflow for Concert Photo Editing
A systematic workflow ensures efficiency and consistency, especially when processing hundreds of images from a single event. Begin with a robust culling process to select only the sharpest, best-composed, and most impactful shots. Discarding technically flawed images early saves significant editing time. Once culled, categorize images by lighting conditions or specific performers if necessary, to facilitate batch adjustments.
Initial Steps:
- Import and Organize: Use a cataloging system to keep track of RAW files.
- Cull Ruthlessly: Focus on sharpness, composition, and subject expression. Discard blurry, poorly framed, or uninteresting shots immediately.
- Apply Basic Lens Corrections: Correct for lens distortion, chromatic aberration, and vignetting, which are common issues in concert settings due to wide apertures and fast lenses.
Mastering Exposure and Color in Dynamic Lighting
Concert photography often involves capturing subjects under extreme and variable lighting. This necessitates careful attention to exposure and color to recover detail and establish a consistent mood.
Balancing Highlights and Shadows
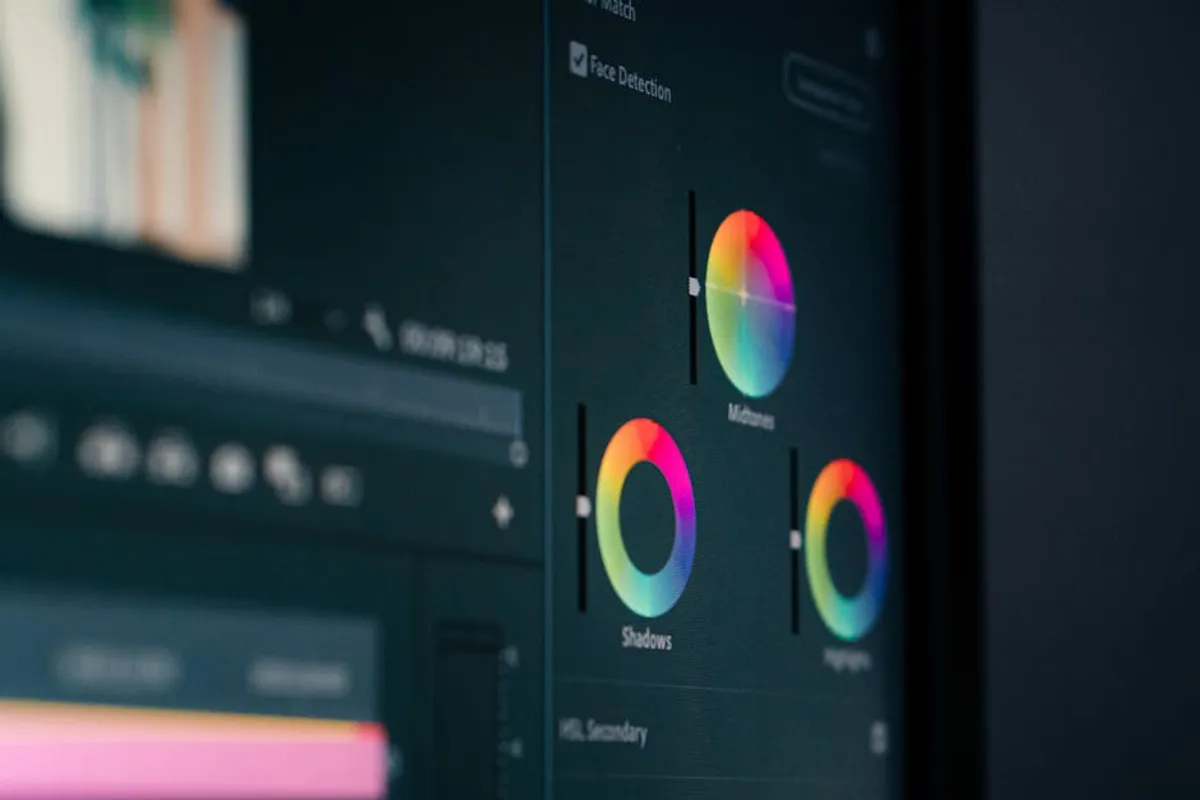
Stage lights frequently blow out highlights while leaving significant areas in deep shadow. The goal is to recover detail in both extremes without introducing excessive noise or an unnatural HDR look. Adjust the 'Highlights' slider down to reclaim detail in bright areas, and the 'Shadows' slider up to reveal information in darker regions. Be mindful that pushing shadows too far can introduce visible noise, especially in high ISO images.
Correcting White Balance Anomalies
Mixed and colored stage lighting makes achieving accurate white balance in-camera nearly impossible. Post-processing is essential here. Instead of aiming for perfect neutrality, which might strip the image of its atmosphere, focus on making intentional color choices. Use the 'White Balance' sliders (Temperature and Tint) to neutralize obvious color casts or to enhance the existing mood. For example, a blue stage light might require warming the image slightly, but not to the point of eliminating the blue entirely if it contributes to the scene's feel.
Pro Tip: When dealing with multiple light sources or rapidly changing colors, consider using a custom white balance eyedropper on a neutral gray or white element within the frame, if one exists. Otherwise, make a judgment call based on the overall aesthetic you want to achieve for the set.
Refining Detail and Texture
High ISO settings, necessary for freezing motion in low light, inevitably introduce digital noise. Strategic noise reduction and sharpening are critical for producing clean, impactful images.
Strategic Noise Reduction
Apply noise reduction judiciously. Excessive noise reduction can soften details and make subjects appear plastic. Prioritize luminance noise reduction over color noise reduction, as color noise is generally more distracting. Apply noise reduction globally first, then consider localized adjustments to specific areas if certain parts of the image require more aggressive treatment without affecting critical details like faces or instruments.
Sharpening for Impact
Sharpening should enhance edge definition, not create halos or artifacts. Apply sharpening after noise reduction. Adjust the 'Amount' to define edges, 'Radius' to control the width of the sharpening effect, and 'Detail' to refine texture. The 'Masking' slider is particularly useful for concert photos, allowing you to apply sharpening only to areas with significant detail, preventing sharpening of smooth, noisy backgrounds.
Local Adjustments for Precision
Global adjustments affect the entire image, but concert photos often benefit from targeted local edits. Tools like adjustment brushes, radial filters, and graduated filters allow for precise control over specific areas.
Common Local Adjustments:
- Dodging and Burning: Lighten (dodge) or darken (burn) specific areas to direct the viewer's eye or enhance dimensionality. For instance, brightening a performer's face or darkening a distracting background element.
- Spot Removal: Clean up sensor dust, distracting stage debris, or unflattering reflections.
- Exposure/Contrast Adjustments: Apply localized exposure or contrast boosts to individual spotlights or performers without affecting the rest of the frame.
- Color Correction: Isolate and correct specific color casts that might appear on a performer's skin due to a particular stage light.
Warning: Over-processing concert photos can strip them of their raw, energetic feel. Aim for enhancement and correction, not transformation. The goal is to present a polished image that still feels authentic to the live experience. Avoid pushing sliders to their extremes, which often leads to an artificial appearance.
Finalizing Images for Distribution
Once the aesthetic editing is complete, prepare your images for their intended use. This involves careful consideration of file format, resolution, and metadata.
For Web Use:
- File Format: JPEG is standard for web, offering good compression and broad compatibility.
- Resolution: Optimize for screen display (e.g., 2048px on the long edge for many platforms) to balance quality and load speed.
- Color Space: sRGB is the standard for web to ensure consistent color rendering across different browsers and devices.
- Metadata: Embed relevant keywords, copyright information, and your contact details. This helps with search visibility and protects your work.
For Print or High-Resolution Delivery:
- File Format: TIFF or PSD are preferred for maximum quality and flexibility.
- Resolution: Maintain higher resolution (e.g., 300 DPI) suitable for printing.
- Color Space: Adobe RGB or ProPhoto RGB offer wider color gamuts than sRGB, beneficial for professional printing.
Streamlining Your Concert Photo Editing Process
Effective editing of concert photography is an iterative process that refines technical elements while preserving the performance's energy. By systematically addressing exposure, color, noise, and detail, and then applying precise local adjustments, you can transform challenging captures into impactful images. Develop a consistent workflow, apply adjustments thoughtfully, and always prioritize the authentic atmosphere of the live event. Regular practice and critical self-evaluation will continuously improve your ability to produce high-quality concert photographs.
Frequently Asked Questions
What's the most crucial step in editing concert photos?
The most crucial step is balancing exposure and white balance. Concert lighting creates extreme dynamic range and color shifts, so recovering detail in highlights and shadows and making intentional color choices are fundamental to producing usable and atmospheric images.
How do I deal with very dark images or images with too much noise?
For dark images, carefully raise the 'Shadows' and 'Blacks' sliders in your editing software to recover detail. For noise, apply luminance noise reduction judiciously, balancing noise suppression with detail preservation. Avoid pushing these adjustments too far, as it can degrade image quality or create an artificial look.
Should I aim for natural colors or enhance stage lighting effects?
This depends on your artistic vision. While correcting obvious color casts is often necessary, sometimes the exaggerated colors of stage lighting contribute to the atmosphere. Instead of aiming for strictly natural colors, focus on making intentional color choices that enhance the mood and impact of the performance, even if they're not technically "accurate."
What's the best way to make performers stand out from a busy background?
Utilize local adjustments. You can selectively lighten (dodge) the performer and darken (burn) the background, or apply a subtle clarity or contrast boost to the subject while slightly softening the background. Careful cropping can also help isolate the subject and reduce background clutter.