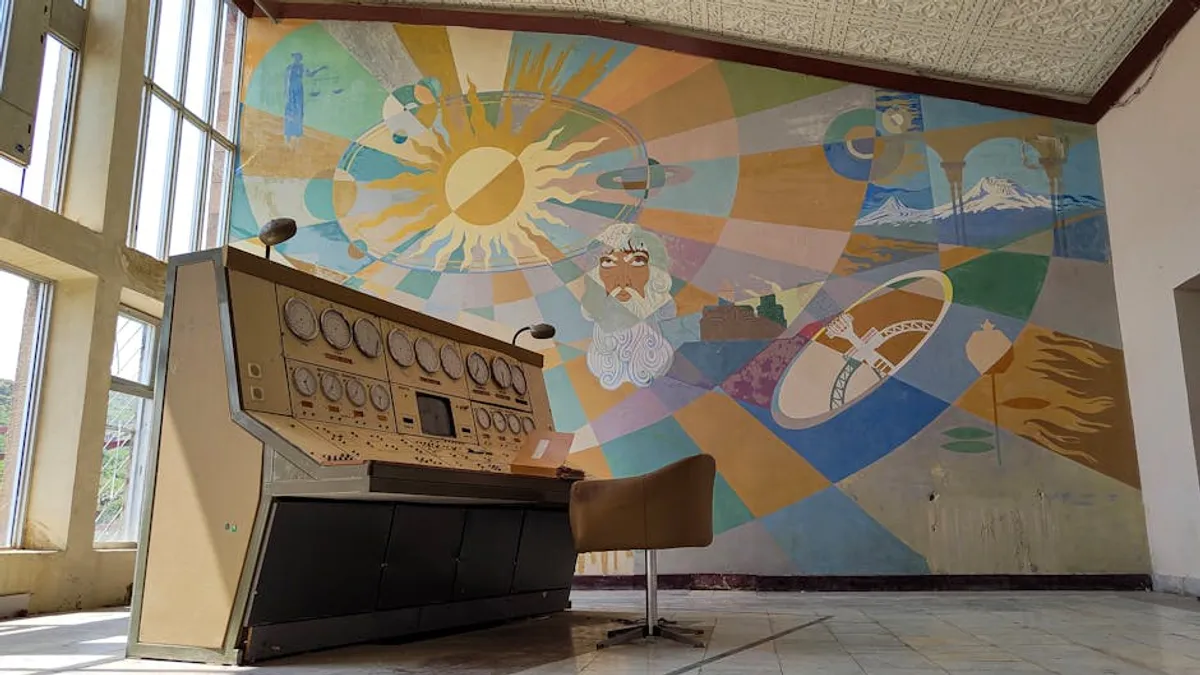
Effectively capturing murals, installations, and street scenes presents unique photographic challenges and commercial opportunities. Unlike studio work, these subjects are often large-scale, dynamic, and integrated into complex public environments. Success hinges on a deliberate approach to gear, composition, lighting, and post-processing, all while navigating practical and ethical considerations. The goal is to produce compelling visuals that accurately represent the art or moment, suitable for portfolios, marketing, or journalistic purposes, demanding technical precision and a keen eye for narrative.
Understanding Your Subject: Murals, Installations, and Street Scenes
Each category of public art and urban environment requires a tailored photographic strategy. Recognizing their distinct characteristics is the first step toward effective capture.
Murals: Scale and Context
Murals are typically two-dimensional, fixed to a surface, and often monumental in scale. The challenge lies in conveying both the intricate details of the artwork and its relationship to the surrounding architecture or urban landscape. A wide-angle perspective is often necessary to encompass the entire piece, while telephoto shots can isolate specific textures or brushstrokes. Consider how the mural interacts with passersby or adjacent buildings to add depth and context.
Installations: Interaction and Environment
Installations, by nature, are three-dimensional and often invite viewer interaction. They might be temporary or permanent, occupying specific spaces and transforming them. Photographing installations requires moving around the piece to find angles that highlight its form, materials, and the way light plays upon it. Capturing people interacting with the installation can convey its intended purpose and scale, adding a human element to the narrative.
Street Scenes: Candid Moments and Narrative
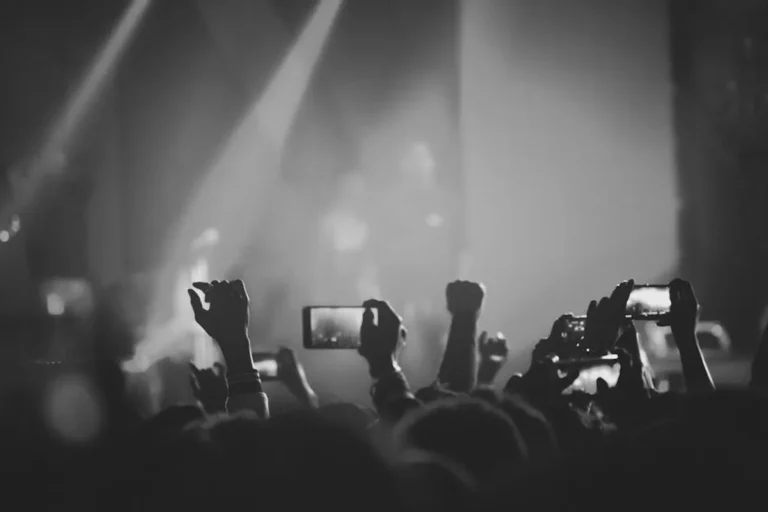
Street scenes are inherently dynamic and unpredictable, focusing on candid moments, urban life, and the interplay of light and shadow in public spaces. The objective is often to tell a story or capture the essence of a place. This demands quick reflexes, a discreet presence, and an ability to anticipate unfolding events. Look for interesting juxtapositions, human emotion, and the rhythm of city life.
Essential Gear Considerations
The right equipment facilitates capturing high-quality images in varied public settings.
Camera Bodies: Flexibility and Low Light
A camera body offering strong low-light performance (high ISO capabilities with minimal noise) and a robust autofocus system is crucial for street scenes and dimly lit installations. Full-frame sensors generally provide superior image quality and dynamic range, which is beneficial for managing high-contrast urban environments. Mirrorless cameras offer portability and advanced electronic viewfinders, aiding in discreet shooting.
Lenses: Wide-Angle to Telephoto Versatility
A versatile lens kit is key:
- Wide-angle lenses (16-35mm equivalent): Essential for capturing the full scope of large murals and installations, as well as expansive streetscapes. These lenses help include contextual elements.
- Standard zoom lenses (24-70mm equivalent): A workhorse for general street photography and capturing details within larger pieces. Offers flexibility without constant lens changes.
- Telephoto lenses (70-200mm equivalent): Useful for isolating specific elements of a mural or installation from a distance, or for candid street portraits without intruding on subjects.
- Prime lenses (35mm, 50mm, 85mm): Offer wider apertures (f/1.4-f/2.8) for excellent low-light performance and shallow depth of field, ideal for artistic blur or isolating subjects in street photography.
Tripods and Stabilization: Sharpness and Composition
While often impractical for fast-paced street photography, a sturdy tripod is indispensable for capturing murals and installations, especially in low light or when precise composition is required. It ensures maximum sharpness, allows for longer exposures, and facilitates bracketing for HDR. A monopod can offer a compromise between stability and portability for certain situations.
Accessories: Filters and Remote Triggers
Polarizing filters reduce glare and enhance color saturation, particularly useful for murals under direct sunlight or reflections from glass. Neutral Density (ND) filters allow for longer exposures during daylight, useful for blurring motion in street scenes or smoothing water in urban landscapes. A remote trigger minimizes camera shake during long exposures on a tripod.
Compositional Approaches for Public Art
Effective composition draws the viewer's eye and communicates the intended message.
Framing and Perspective: Capturing Scale
For murals and large installations, experiment with different vantage points. Shoot from low angles to emphasize monumentality, or from elevated positions (if accessible) to show the piece in its urban context. Use natural frames like doorways, windows, or architectural elements to draw attention to the subject.
Incorporating Environment: Storytelling
Avoid isolating the art completely unless that is the specific intent. Include elements of the surrounding environment—buildings, trees, people, or street signs—to provide a sense of place and scale, enriching the narrative of the image.
Leading Lines and Symmetry: Guiding the Eye
Utilize leading lines (roads, architectural features, patterns within the art) to guide the viewer's gaze toward the focal point. Look for symmetry or repeating patterns within murals or installations to create a sense of balance and order.
Rule of Thirds and Negative Space: Balance and Impact
Position key elements along the intersecting lines or at the points of intersection of the rule of thirds grid for a more dynamic composition. Employ negative space—empty areas around the subject—to give the artwork room to breathe and to emphasize its form or isolation.
Mastering Light and Exposure
Light is the primary tool for shaping your image.
Natural Light: Time of Day and Weather
The "golden hour" (shortly after sunrise, before sunset) provides soft, warm light that can enhance colors and textures. Overcast days offer diffused, even light, reducing harsh shadows and glare, which is ideal for detailed mural photography. Midday sun can create strong contrasts and deep shadows, which can be used creatively but often requires careful exposure management.
Artificial Light: Managing Reflections and Shadows
When shooting at night or in poorly lit areas, artificial light sources (streetlights, building lights) become part of the scene. Be aware of reflections on shiny surfaces and how shadows are cast. Sometimes, a subtle fill flash can help balance exposure, but often, embracing the existing light creates a more authentic mood.
Exposure Settings: Aperture, Shutter Speed, ISO Balance
Balance these three settings to achieve the desired exposure and creative effect. A smaller aperture (higher f-number) increases depth of field, keeping more of a large mural or installation in focus. A faster shutter speed freezes motion in street scenes. Higher ISO settings allow for shooting in low light but introduce digital noise, requiring careful management.
Pro Tip: When photographing large murals or complex installations, especially those with varying light conditions, bracket your exposures. Take multiple shots at different exposure values (e.g., -2, 0, +2 EV). This provides a wider dynamic range in post-processing, allowing you to recover details in both highlights and shadows that a single exposure might miss.
Post-Processing for Impact
Digital darkroom techniques refine your images.
Color Correction and White Balance
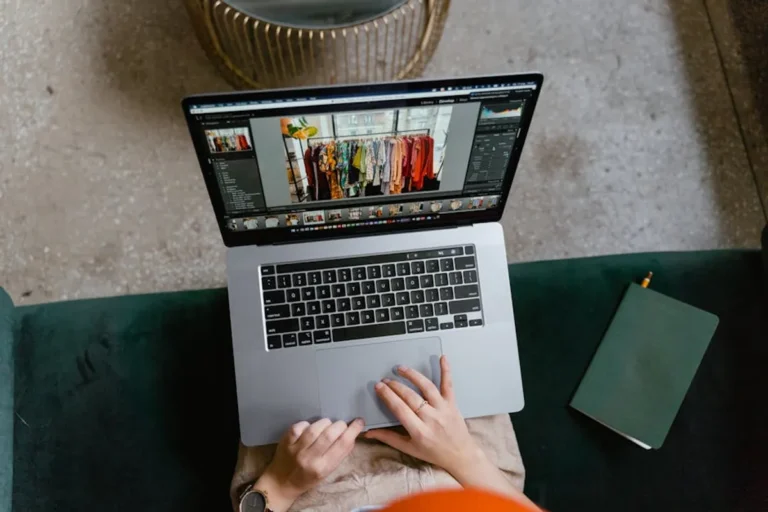
Adjust white balance to accurately represent colors, correcting for color casts from artificial lighting or ambient conditions. Fine-tune saturation and vibrance to make colors pop without appearing unnatural. Consistency in color across a series of images is crucial for commercial portfolios.
Distortion Correction and Cropping
Wide-angle lenses can introduce barrel distortion, especially when shooting large, flat surfaces like murals. Use lens correction profiles in post-processing software to straighten lines. Crop judiciously to improve composition, remove distracting elements, and refine the aspect ratio for different platforms.
Sharpening and Noise Reduction
Apply sharpening to enhance detail, but do so subtly to avoid an artificial look. For images taken at high ISO, strategic noise reduction can clean up grain while preserving essential detail. These adjustments are critical for producing professional-grade prints or high-resolution digital files.
Ethical and Practical Considerations
Respectful and safe practices are paramount.
Respecting Artists and Property
Always assume public art is copyrighted. If possible, credit the artist when sharing images. Be mindful of private property boundaries and avoid trespassing. Some installations may have specific rules about photography, so look for signage.
Safety and Awareness in Public Spaces
Remain aware of your surroundings, especially in busy urban environments or unfamiliar areas. Protect your gear and yourself. Avoid obstructing pedestrian traffic or creating hazards while setting up shots.
Permissions and Usage Rights
For commercial use, especially if people are identifiable in your street photography, consider obtaining model releases. For prominent, copyrighted public art, especially if it's the primary subject of a commercial project, research the artist's or property owner's policies on image reproduction and usage.
Elevating Your Visual Storytelling
The technical aspects of photography provide the foundation, but the true impact comes from how you use these tools to tell a story. Approach each mural, installation, or street scene with an inquisitive mind, asking what narrative it presents. Consider the human element, the passage of time, and the interplay of light and shadow as integral parts of the visual dialogue. By meticulously planning your shots, understanding your gear, and refining your images in post-processing, you transform mere documentation into compelling visual commentary. Your photographs become not just records, but interpretations that resonate with viewers and effectively communicate the essence of these dynamic public expressions.
Frequently Asked Questions
What is the best time of day to photograph outdoor murals? The "golden hour" (early morning or late afternoon) provides soft, warm light that enhances colors and reduces harsh shadows. Overcast days also offer diffused, even lighting ideal for detailed mural shots.
Do I need special permission to photograph public art? Generally, photographing public art for personal use is acceptable. For commercial use, especially if the art is the primary subject or if identifiable people are included, research the artist's or property owner's copyright and usage policies.
How can I avoid distortion when photographing large murals with a wide-angle lens? Use lens correction profiles in post-processing software to correct barrel distortion. Additionally, try to keep your camera level and centered relative to the mural to minimize perspective distortion, or correct it in software.
What camera settings are best for candid street photography? Prioritize a fast shutter speed (e.g., 1/250s or faster) to freeze motion, a moderate aperture (f/5.6-f/8) for sufficient depth of field, and adjust ISO as needed for proper exposure. A high-performing autofocus system is also crucial.