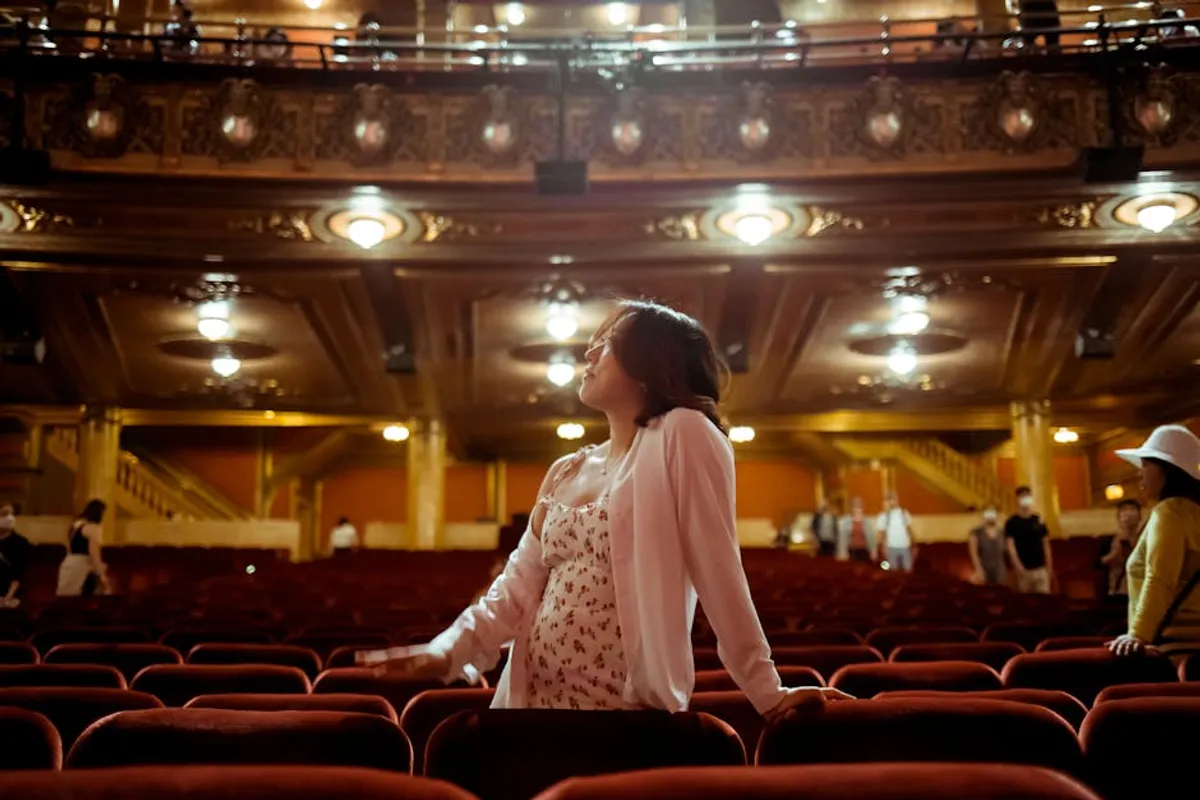
Photographing theater shows presents a distinct set of challenges and opportunities for photographers. Unlike controlled studio environments or static landscapes, live theater demands adaptability, technical precision, and a deep understanding of storytelling through movement and light. The goal extends beyond merely documenting the performance; it involves capturing the essence of the production, the raw emotion of the actors, and the fleeting moments that define a live experience. Success in this niche requires foresight, a specific technical toolkit, and a workflow tailored to low-light, high-contrast, and dynamic scenes.
Pre-Production Essentials for Theater Photography
Before ever stepping into the auditorium, foundational steps dictate the success of your shoot. Neglecting these can lead to missed opportunities or, worse, revoked access.
Securing Permissions and Understanding Constraints
Always begin by obtaining explicit permission from the theater management, production company, and often, the director. This is non-negotiable. Clarify usage rights for the images, whether they are for archival, promotional, or editorial purposes, and if there are any restrictions on actor likenesses or specific scenes. Inquire about designated shooting areas, flash restrictions, and any blackout periods during which photography is prohibited. Some productions may allow photography only during dress rehearsals, not live performances.
Familiarizing Yourself with the Production
Reviewing the script or attending a rehearsal provides invaluable insight into the narrative arc, key emotional beats, and critical staging. This allows you to anticipate important moments, understand character interactions, and pre-visualize compositions. Pay close attention to the lighting design during rehearsals; theater lighting is often complex, with rapidly changing cues, spotlights, and color gels that will directly impact your exposure and white balance decisions.
Strategic Equipment Selection
The right gear is paramount for navigating the demanding conditions of theater photography. Prioritize equipment that performs well in low light and offers versatility.
- Camera Body: A full-frame DSLR or mirrorless camera with excellent high-ISO performance (e.g., capable of clean images at ISO 3200-6400+) and a fast, accurate autofocus system. Dual card slots offer redundancy.
- Lenses: Fast prime lenses (f/1.4, f/1.8, f/2.0, f/2.8) are essential for maximizing light gathering. A 50mm, 85mm, or 135mm prime offers excellent subject isolation. Fast zoom lenses (e.g., 24-70mm f/2.8, 70-200mm f/2.8) provide flexibility for varying distances and framing without lens changes.
- Memory Cards: High-capacity, high-speed cards (UHS-II recommended) to handle continuous shooting of RAW files.
- Accessories: A monopod can provide stability in low light without the bulk of a tripod, which is often prohibited. A silent camera strap and lens hood are also practical.
Mastering the Technical Execution On-Site
Once in the theater, your technical skills are tested against dynamic light and movement.
Navigating Low Light and Dynamic Range
Theater stages are characterized by extreme contrasts—bright spotlights against dark backgrounds, or deeply shadowed areas. Your camera's exposure meter can be easily fooled. Manual exposure mode is often the most reliable, allowing you to set ISO, aperture, and shutter speed independently. Prioritize a wide aperture (e.g., f/1.8-f/2.8) to gather maximum light and achieve subject separation. Adjust ISO as needed to maintain a fast enough shutter speed to freeze motion (typically 1/125s or faster for actors in motion, slower for static poses).
Achieving Critical Focus in Motion
Actors move constantly, and precise focus is crucial. Utilize continuous autofocus (AI Servo/AF-C) with a flexible spot or single-point AF mode to track subjects. Pre-focusing on anticipated marks or using back-button focus can also be effective. Avoid relying on wide-area or automatic AF modes, which may lock onto the background or stage elements instead of the actor's face.
Pro Tip: Shoot in RAW. This preserves the maximum amount of image data, offering significantly more flexibility in post-production for recovering highlight and shadow detail, correcting white balance, and reducing noise—all common issues in challenging theater lighting.
Strategic Composition and Storytelling
Beyond technical settings, composition elevates a photograph from a record to an art piece. Frame shots to convey emotion and narrative. Look for moments of interaction between actors, dramatic gestures, or expressive facial cues. Consider the rule of thirds, leading lines from stage props, and the use of negative space to draw attention to your subject. Capture a mix of wide shots to establish the scene, medium shots for group interactions, and tight portraits for individual expressions.
Post-Production Workflow for Impactful Images
The work doesn't end when the curtain falls. Post-processing is where you refine and enhance your captures.
Efficient Culling and Selection
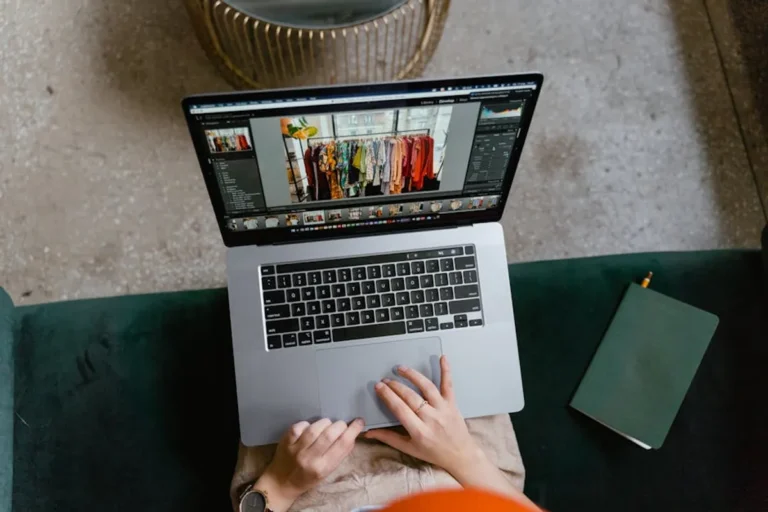
You will likely have thousands of images. Begin by quickly culling, deleting obvious misses (blurry, poorly exposed, repetitive). Then, select images that tell the story, capture peak emotion, or showcase the production's design. Look for strong compositions and sharp focus. Aim for a curated selection that represents the best of the performance.
Targeted Editing Techniques
Focus on adjustments that address the specific challenges of theater photography:
- Noise Reduction: High ISO settings introduce noise. Apply noise reduction judiciously to maintain detail.
- Exposure and Contrast: Fine-tune exposure, particularly in areas where spotlights created harsh highlights or deep shadows. Use local adjustments (brushes, gradients) to balance these extremes.
- Color Correction: Theater lighting often uses colored gels, leading to unusual color casts. Adjust white balance carefully to maintain skin tones while preserving the artistic intent of the lighting.
- Cropping and Straightening: Refine compositions and correct any slight tilts from hurried shooting.
- Sharpening: Apply sharpening selectively to bring out detail in faces and costumes.
Refining Your Theater Photography Approach
Consistent practice and critical self-evaluation are key to improvement. Each production offers unique challenges and learning opportunities. Pay attention to feedback from directors and producers regarding their visual needs. Building a portfolio that demonstrates your ability to capture both the grandeur and intimacy of live performance will attract further opportunities in this specialized field.
Frequently Asked Questions
What is the ideal camera setting for freezing fast-moving actors?
A shutter speed of 1/250s or faster is generally recommended to freeze motion effectively. However, adjust based on the specific movement and available light, prioritizing a wider aperture and higher ISO if necessary to achieve this speed.
Can I use flash photography during a live theater show?
No, flash photography is almost universally prohibited during live performances. It is distracting to both the actors and the audience, and can disrupt the carefully designed lighting of the production. Only use available light.
How do I manage the extreme contrast between spotlights and dark stage areas?
Expose for the highlights (the brightest parts of the actors) to avoid blowing them out, and rely on RAW files to recover detail in the shadows during post-production. Spot metering on the actor's face can be effective, but manual mode offers the most control.
Should I shoot in JPEG or RAW for theater photography?
Always shoot in RAW. The dynamic range and color information captured in RAW files are crucial for correcting exposure, white balance, and reducing noise in the challenging lighting conditions of live theater, offering far more flexibility than JPEG.