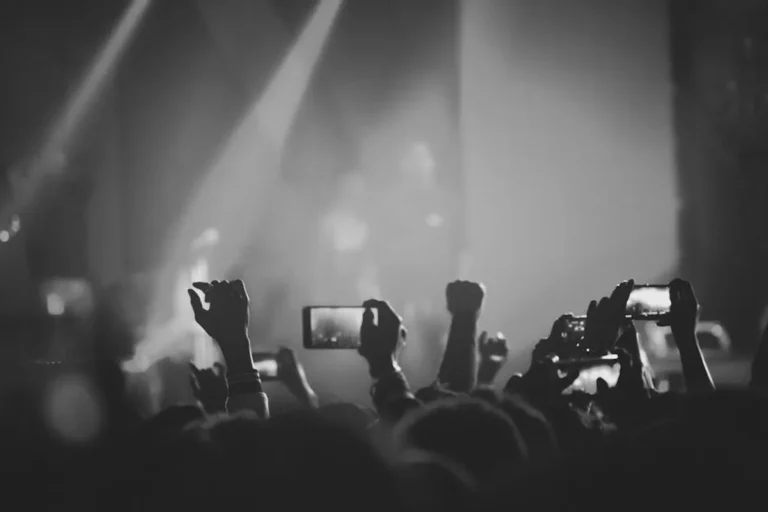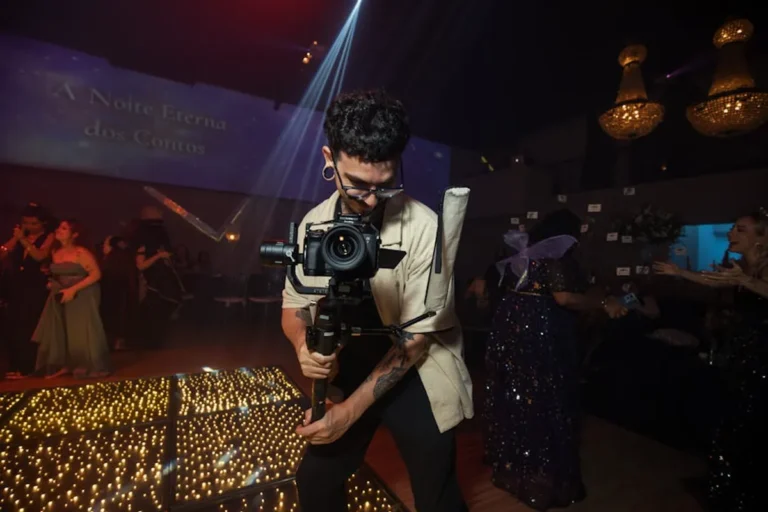

Concert photography presents unique challenges: unpredictable, often extreme lighting, rapid movement, and environments that push camera sensors to their limits. The raw files captured under these conditions rarely convey the full energy and emotion of a live performance without deliberate post-processing. Effective editing transforms technically challenging captures into impactful images that resonate with an audience, making the difference between a passable snapshot and a compelling visual narrative. This guide outlines a structured approach to editing concert photos, focusing on techniques that enhance visual punch and emotional connection. This guide outlines a structured approach to editing concert photos, focusing on techniques for making your concert photos truly pop.
Establishing the Foundation: Initial Adjustments
Before diving into creative enhancements, address the fundamental technical issues inherent in concert photography. These initial adjustments correct major flaws and provide a stable base for subsequent refinements.
Correcting White Balance for Stage Lighting
Stage lighting often employs strong gels, resulting in severe color casts (e.g., deep blues, reds, purples) that can make skin tones appear unnatural and distort the overall scene. While sometimes these casts are part of the desired aesthetic, often they obscure detail and detract from the subject. Begin by evaluating the image for dominant color shifts. Use the white balance eyedropper tool on a neutral gray or white area if available, or manually adjust temperature and tint sliders to achieve a more balanced, albeit still atmospheric, look. The goal is to neutralize distracting color dominance without completely eliminating the mood set by the stage lights.
Managing Dynamic Range: Highlights and Shadows
Concert scenes typically feature extreme contrast: bright spotlights on performers against dark backgrounds, or blown-out stage lights adjacent to deep shadows. Recovering detail in these areas is crucial for a balanced image. Start by reducing the 'Highlights' slider to bring back texture in bright light sources and illuminated skin. Simultaneously, increase the 'Shadows' slider to reveal information in darker areas, such as instruments, clothing, or audience faces. Be cautious not to over-recover shadows, as this can introduce excessive noise and flatten the image. A slight increase in 'Contrast' can help restore some punch after these adjustments, preventing a flat appearance.
Setting Exposure and Black Point
Even after highlight and shadow recovery, the overall exposure might need fine-tuning. Adjust the 'Exposure' slider to achieve an optimal brightness level, ensuring the main subject is well-lit without overexposing other critical areas. Following this, set the 'Blacks' point. Pushing the 'Blacks' slider down slightly can deepen true blacks, adding depth and contrast, which is particularly effective in low-light environments. This helps ground the image and prevent a washed-out look.
Refining the Image: Detail and Atmosphere
Once the foundational adjustments are complete, focus on enhancing specific details, managing noise, and shaping the overall mood of the photograph.
Applying Noise Reduction Judiciously
High ISO settings are common in concert photography, leading to visible digital noise. Apply noise reduction carefully. Excessive noise reduction can soften details, making subjects appear plastic or blurry. Start with a moderate amount of 'Luminance Noise Reduction' to smooth out speckles, then add a small amount of 'Color Noise Reduction' to address colored artifacts. For critical areas like faces or instruments, consider using local adjustment brushes to apply noise reduction selectively, preserving sharpness elsewhere. Always zoom in to 100% to accurately assess the impact of noise reduction.
Pro Tip: When dealing with extreme noise, sometimes a slightly grainy but sharp image is preferable to an overly smooth, detail-less one. Experiment with monochrome conversions for very noisy images; black and white can often mask noise more effectively and lend a timeless, gritty aesthetic suitable for live music.
Enhancing Subject Focus and Clarity
To make performers stand out, judiciously apply sharpening and clarity. Increase the 'Clarity' slider slightly to add mid-tone contrast, which can give textures more definition and make subjects appear sharper. Follow this with 'Sharpening' to enhance edge definition. Apply sharpening with a mask to ensure it only affects detailed areas and doesn't exaggerate noise in smooth, out-of-focus regions. Local adjustments, such as a brush with increased clarity and sharpness, can be used to specifically enhance the eyes or instruments of a performer, drawing the viewer's gaze.
Strategic Color Grading and Tonal Adjustments
Beyond basic white balance, color grading allows for creative expression and mood enhancement. Consider the overall feel of the concert and the band's aesthetic.
- HSL/Color Mixer: Adjust individual color hues, saturations, and luminances. For example, desaturating distracting background colors while boosting the saturation of a performer's costume can guide attention.
- Split Toning: Add specific color casts to highlights and shadows. Warm tones in highlights and cool tones in shadows can create a cinematic look, or vice versa, depending on the desired mood.
- Tone Curve: Manipulate the overall contrast and brightness more precisely. An S-curve adds contrast, while lifting the black point on the curve can create a faded, film-like effect.
These tools allow for subtle or dramatic shifts in the image's emotional impact.
Finalizing for Impact: Presentation and Delivery
The final steps involve refining composition and preparing the image for its intended use, ensuring maximum visual impact.
Cropping and Straightening for Stronger Composition
Review the composition of each image. Cropping can eliminate distracting elements, improve subject placement, and strengthen the overall visual hierarchy. Adhere to compositional guidelines like the rule of thirds, or break them deliberately for a specific artistic effect. Ensure horizons (or stage lines) are straight, as even a slight tilt can be distracting. A tighter crop on a performer's face or instrument can create intimacy, while a wider crop might capture more of the stage energy.
Applying Vignetting to Direct Attention
A subtle vignette, darkening the edges of the frame, can effectively draw the viewer's eye towards the brighter, central subject. Use this sparingly; an obvious vignette can look artificial. Adjust the 'Amount' and 'Midpoint' sliders to create a gentle fall-off that frames the subject without being overtly noticeable. This technique is particularly effective in busy concert environments where focus needs to be maintained on the performer.
Optimizing Export Settings for Target Platforms
The final step is to export the edited images with settings appropriate for their intended use.
- Web Use: For online galleries or social media, export as JPEG with sRGB color profile. Resize images to a common web dimension (e.g., 2048 pixels on the long edge) and select a quality setting between 70-85% to balance file size and visual fidelity.
- Print Use: For printing, use a higher resolution (e.g., 300 DPI) and a larger color space like Adobe RGB or ProPhoto RGB if the printer supports it. TIFF or high-quality JPEG are suitable formats.
Consistent file naming conventions also aid in organization and retrieval.
Enhancing Your Concert Photography Workflow
Mastering concert photo editing is an iterative process. Consistency in your approach, combined with a willingness to experiment, will refine your personal style and improve the visual impact of your work. Always consider the story you want to tell with each image and use editing as a tool to amplify that narrative. Review your work critically, compare before-and-after versions, and seek feedback to continually evolve your technique.
Frequently Asked Questions
What's the most critical first step when editing concert photos?
The most critical first step is usually correcting the white balance to neutralize strong color casts from stage lighting, followed by adjusting exposure, highlights, and shadows to manage the extreme dynamic range inherent in concert environments.
How do I make my subjects stand out against a busy stage background?
To make subjects stand out, use a combination of techniques: apply local adjustments to increase clarity and sharpness on the subject, slightly desaturate or darken distracting background elements, and consider a subtle vignette to draw the eye towards the central performer.
Should I always apply noise reduction to high ISO concert photos?
Not always. While noise reduction can clean up images, excessive application can lead to a loss of detail and a 'plastic' look. It's often better to apply noise reduction sparingly and selectively, or even embrace a slight amount of visible grain if it maintains sharpness and texture, especially for black and white conversions.
What's the best way to maintain the atmosphere of the concert while editing?
To maintain atmosphere, avoid completely neutralizing all color casts from stage lights unless they are highly distracting. Instead, aim for a balanced correction that retains some of the original color mood. Use color grading tools like HSL and split toning to enhance, rather than eliminate, the existing emotional tones of the scene.