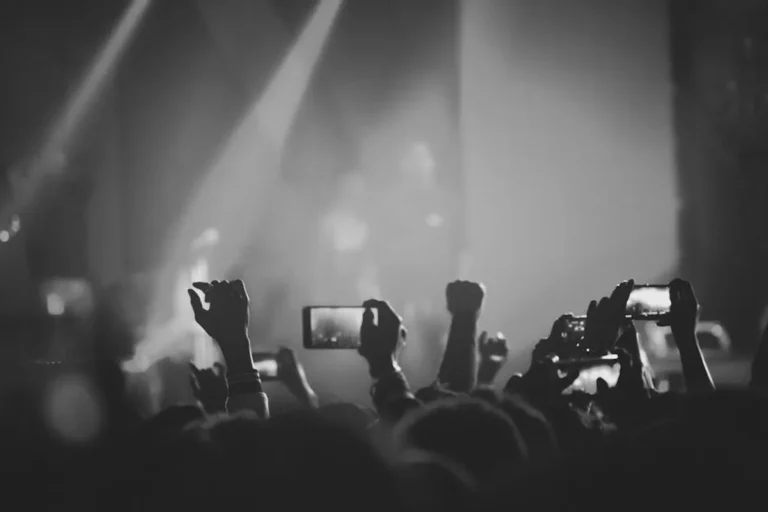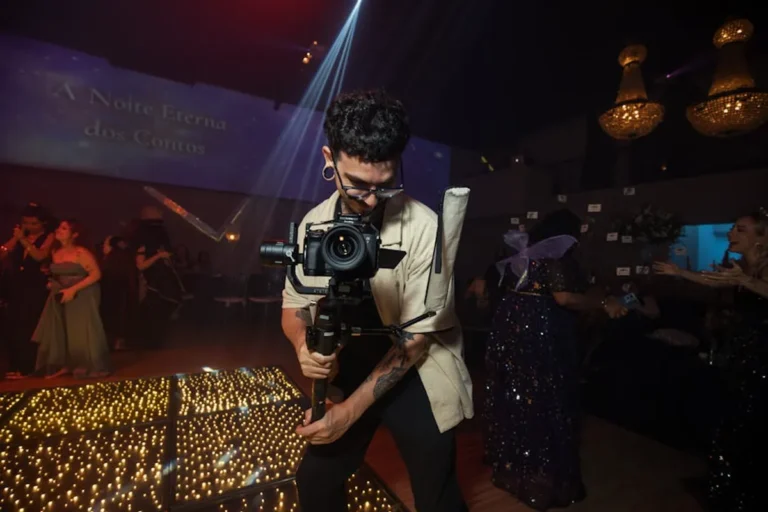
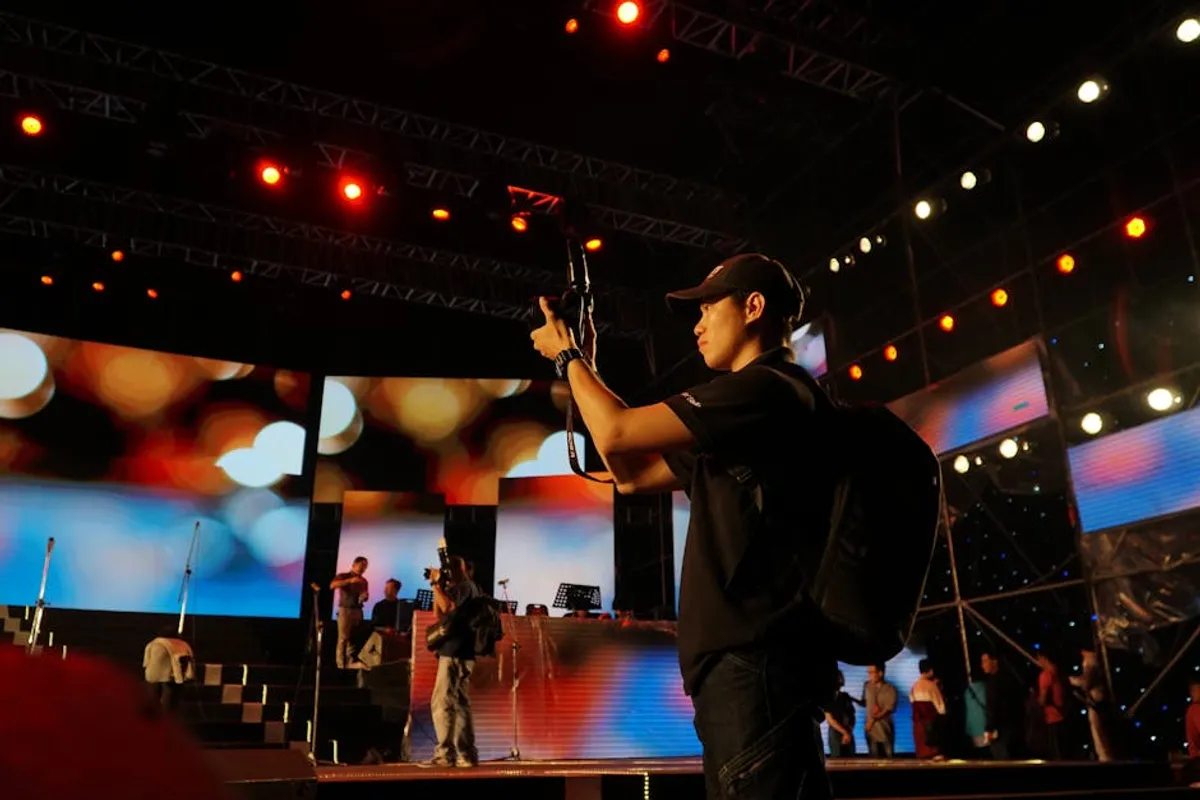
Photographing live concerts presents a unique set of technical and logistical challenges, demanding rapid decision-making and a deep understanding of light. Unlike studio or landscape photography, you operate within a highly dynamic, often low-light environment with limited control over your subjects or conditions. Achieving professional-level results requires specific equipment choices, precise camera control, and a keen eye for composition under pressure. This guide outlines the core strategies to move beyond casual snapshots and capture compelling, high-quality images that convey the energy and emotion of a live performance. Mastering the art of photographing live events requires a blend of technical skill and artistic vision to capture the raw energy of the moment.
Essential Gear for Low-Light Performance
The foundation of successful concert photography lies in equipment optimized for challenging lighting conditions and fast-moving subjects. Compromising on critical components often leads to unusable, noisy, or blurry images.
Camera Bodies: Sensor Performance and ISO
Best for: Low-light sensitivity and fast autofocus.
Professional concert photography demands camera bodies with excellent high-ISO performance. This refers to the sensor's ability to capture usable images in dim light without introducing excessive digital noise. Full-frame sensors generally outperform APS-C sensors in this regard due to their larger individual photosites, which gather more light. Look for cameras known for their robust autofocus systems, capable of tracking subjects accurately in varied lighting, even when stage lights are constantly changing.
Lenses: Aperture and Focal Length Selection
Best for: Gathering maximum light and versatile framing.
Fast lenses, characterized by wide maximum apertures (e.g., f/2.8, f/1.8, f/1.4), are non-negotiable. A wider aperture allows more light to reach the sensor, enabling faster shutter speeds at lower ISOs, which in turn reduces motion blur and noise. Common focal lengths include:
- Wide-angle zooms (e.g., 16-35mm f/2.8): Excellent for capturing the entire stage, crowd interaction, or environmental shots from the photo pit.
- Standard zooms (e.g., 24-70mm f/2.8): A versatile workhorse for capturing individual artists or smaller groups from a moderate distance.
- Telephoto zooms (e.g., 70-200mm f/2.8): Crucial for tight shots of performers, capturing expressions, and isolating subjects from a distance.
- Prime lenses (e.g., 50mm f/1.4, 85mm f/1.4): Offer even wider apertures for superior low-light performance and shallower depth of field, but require physical movement to change framing.
Critical Accessories
Beyond the camera and lenses, several accessories enhance both image quality and your working comfort:
- Extra Batteries: Concerts are long, and cold conditions drain batteries faster. Always carry at least two fully charged spares.
- Fast Memory Cards: High-speed cards (e.g., V60 or V90 UHS-II SD cards, CFexpress) are essential for continuous shooting of RAW files without buffering delays.
- Earplugs: Protect your hearing. High-fidelity earplugs allow you to hear the music while attenuating harmful decibel levels.
- Monopod: Provides stability for heavy telephoto lenses, reducing fatigue and camera shake, especially during longer sets. Tripods are generally not permitted or practical in concert venues.
- Black Clothing: Helps you blend into the background, minimizing distractions for both performers and the audience.
Mastering Camera Settings in Dynamic Environments
Concert photography is largely about controlling light and motion. Manual mode offers the most precise control over these variables.
Aperture: Controlling Depth and Light
Primary Use: Maximize light intake; control depth of field.
Set your aperture as wide as your lens allows (e.g., f/2.8, f/1.8). This maximizes the light reaching your sensor, which is critical in dim venues. A wide aperture also creates a shallow depth of field, isolating the performer from a busy background, drawing the viewer's eye directly to the subject.
Shutter Speed: Freezing or Blurring Motion
Primary Use: Manage motion blur.
Your shutter speed depends on the performer's movement and your creative intent. For freezing fast action (e.g., a jumping guitarist), aim for 1/250s or faster. For slower movements or to introduce intentional motion blur (e.g., a drummer's sticks), you might drop to 1/125s or even slower. Always prioritize a shutter speed fast enough to avoid camera shake, especially with longer lenses.
ISO: Managing Noise in Darkness
Primary Use: Compensate for low light, balance with other settings.
ISO is your last resort for adjusting exposure after aperture and shutter speed are set. Start with the lowest possible ISO (e.g., 800-1600) and increase it only as necessary to achieve a proper exposure. Modern cameras can often produce acceptable results up to ISO 6400 or even 12800, but always be mindful of the trade-off with increased digital noise.
Manual Mode: Your Best Ally
Best for: Consistent exposure control.
While aperture-priority (Av/A) or shutter-priority (Tv/S) modes can work, manual mode (M) provides the most consistent results. Stage lighting is notoriously erratic, and automatic modes can struggle to react quickly or appropriately. In manual, you set your desired aperture and shutter speed, then adjust ISO to achieve correct exposure. This ensures your key creative decisions (depth of field, motion blur) remain constant.
Composition and Storytelling on Stage
Technical proficiency is only half the battle; compelling concert photography tells a story and evokes emotion.
Capturing Peak Moments and Emotion
Focus: Expression and energy.
Anticipate key moments: a singer's intense gaze, a guitarist's leap, a drummer's powerful strike. Pay attention to facial expressions, hand gestures, and body language. These elements communicate the artist's passion and the energy of the performance. Shoot in continuous high-speed mode to increase your chances of catching these fleeting instances.
Framing the Artist and the Crowd
Focus: Context and impact.
Vary your shots. Beyond tight portraits of individual performers, capture wider shots that include the entire band, the stage design, or the enthusiastic crowd. These wider perspectives provide context and convey the scale and atmosphere of the event. Experiment with different angles, shooting from low to emphasize grandeur or from slightly elevated positions if possible.
Pro Tip: Avoid using your on-camera flash. It rarely provides flattering light, often creates harsh shadows, and can be distracting to both performers and the audience. Rely on the existing stage lighting and your camera's high-ISO capabilities.
Navigating the Concert Environment
Understanding venue logistics and etiquette is crucial for both successful photography and maintaining professional relationships.
Understanding Stage Lighting
Key skill: Adapting to dynamic light.
Stage lighting is your primary light source. Observe how it changes: color shifts, intensity variations, and spotlights. Learn to anticipate these changes. Often, the best light for a performer lasts only a few seconds. Position yourself to utilize backlighting for dramatic silhouettes or front lighting for clear facial details.
Securing Access and Following Rules
Requirement: Credentials and compliance.
Most professional concert photography requires a photo pass, typically granted by the band's publicist, management, or the venue. Always understand and adhere to the "three-song rule" (photographing only for the first three songs, often without flash, then exiting the photo pit) and any other venue-specific restrictions. Respecting these rules is paramount for future access.
Etiquette in the Photo Pit
Principle: Respect and professionalism.
The photo pit can be a crowded, competitive space. Be mindful of other photographers; avoid blocking their shots or lingering in prime positions. Move quietly and efficiently. Do not engage with performers unless they initiate contact, and never obstruct the view of paying audience members.
Post-Processing for Impact
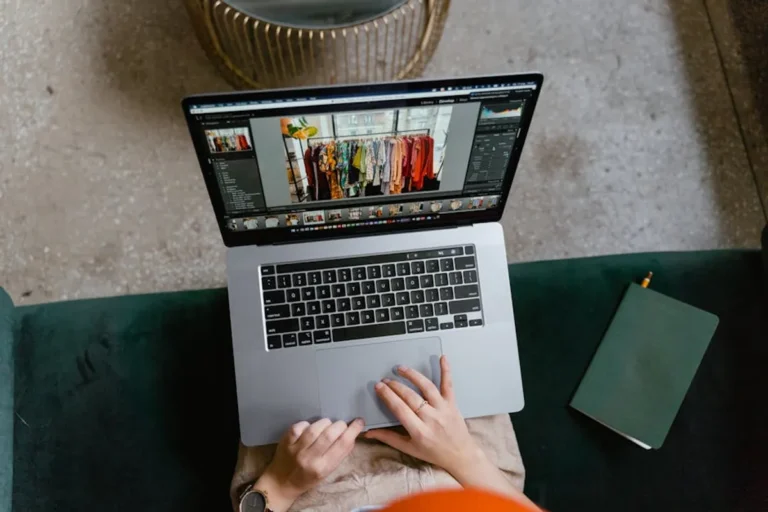
The RAW files captured during a concert are a starting point; post-processing refines them into final images.
Essential Adjustments for Concert Shots
Software: Adobe Lightroom, Capture One, or similar RAW editors.
- Exposure Correction: Adjust overall brightness, especially in challenging low-light areas.
- White Balance: Correct color casts from colored stage lights to achieve natural skin tones or desired artistic effects.
- Contrast and Clarity: Enhance the punch and detail of your images.
- Noise Reduction: Carefully apply noise reduction to high-ISO images, balancing detail preservation with noise suppression.
- Cropping and Straightening: Refine composition and correct any tilted horizons.
- Highlight and Shadow Recovery: Pull detail from blown-out highlights (e.g., bright spotlights) and deep shadows.
Developing Your Concert Photography Skills
Becoming a professional concert photographer is an iterative process. Practice is key, even if it means starting at smaller, local venues where access is easier. Experiment with different settings and compositions. Review your images critically, identifying what worked and what could be improved. Seek feedback from experienced photographers. Building a strong portfolio of diverse concert images is essential for securing future opportunities and demonstrating your capability to capture the unique energy of live music.
Frequently Asked Questions
What is the most important lens for concert photography?
A fast telephoto zoom lens (e.g., 70-200mm f/2.8) is often considered the most versatile and important, allowing you to get tight shots of performers from various distances while gathering sufficient light.
Can I use my phone for professional concert photography?
While modern smartphones have improved, their small sensors and fixed apertures are generally insufficient for professional-level concert photography, especially in very low light or for capturing fast action without significant noise or blur.
How do I get a photo pass for concerts?
Photo passes are typically granted by the band's publicist, management, or the venue. You usually need to demonstrate a portfolio of your work and have an editorial assignment or a clear purpose for your photography (e.g., shooting for a publication or the band itself).
Should I shoot in JPEG or RAW?
Always shoot in RAW. RAW files contain much more image data than JPEGs, providing significantly greater flexibility for exposure, white balance, and noise correction in post-processing, which is crucial for challenging concert lighting.