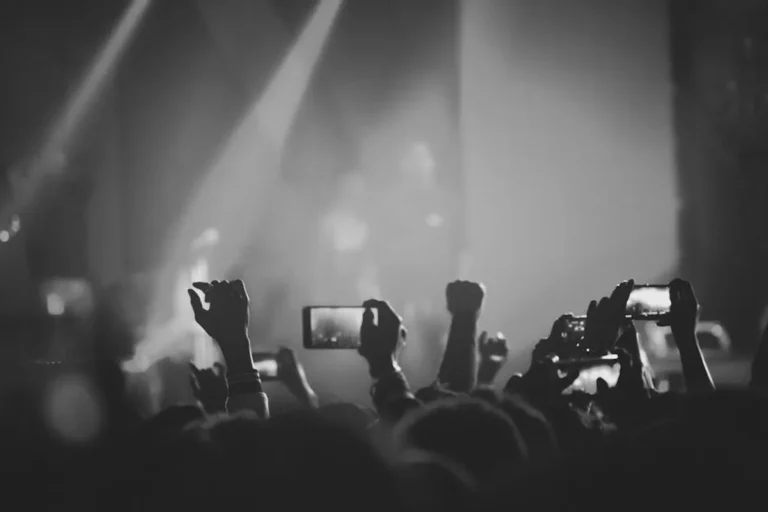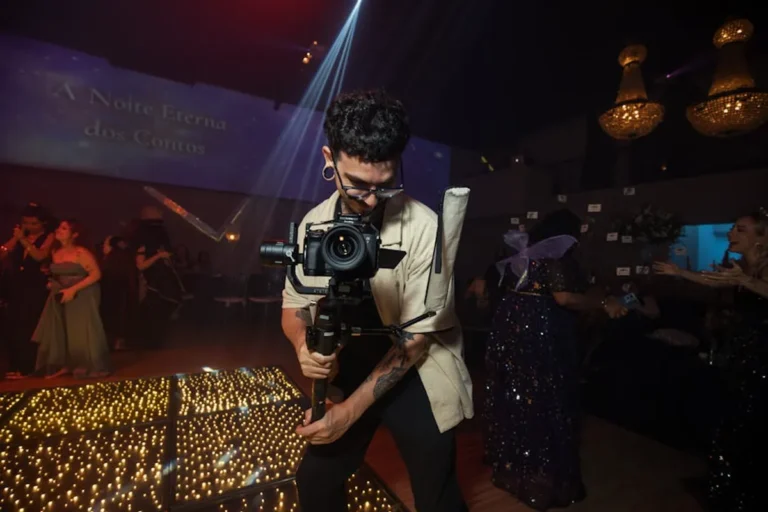

Shooting events in low-light conditions presents a distinct challenge for photographers, often forcing a compromise between capturing the ambient mood and achieving sharp, well-exposed images. The commercial implications are significant: blurry subjects, excessive digital noise, or missed critical moments directly impact client satisfaction and the perceived professionalism of your work. Mastering low-light event photography means understanding how to maximize available light, stabilize your camera effectively, and apply specific in-camera settings to deliver clean, impactful results. This guide focuses on actionable techniques to navigate these difficult lighting scenarios, ensuring your images retain atmosphere without sacrificing technical quality.
Optimizing Camera Settings for Dim Environments
Success in low-light begins with a fundamental understanding of the exposure triangle and how to manipulate each element to your advantage. The goal is to gather as much light as possible while minimizing unwanted side effects like motion blur or excessive digital noise.
Aperture Priority and Wide Open Lenses
Your lens choice and aperture setting are the primary determinants of how much light reaches your camera's sensor. For low-light events, fast prime lenses (e.g., 50mm f/1.4, 85mm f/1.8) or professional zoom lenses (e.g., 24-70mm f/2.8, 70-200mm f/2.8) are critical. These lenses allow you to shoot at wider apertures, such as f/1.4, f/1.8, or f/2.8, which significantly increases the amount of light captured. This direct light advantage allows for lower ISO settings or faster shutter speeds, both contributing to cleaner, sharper images. Operating in Aperture Priority (Av or A) mode allows you to control depth of field while the camera selects an appropriate shutter speed, though constant monitoring is essential. Operating in Aperture Priority (Av or A) mode allows you to better control depth of field, which is a key consideration when shooting events in challenging light.
Balancing Shutter Speed and Motion
Shutter speed dictates how motion is rendered in your image. In low light, a slower shutter speed captures more light but increases the risk of motion blur from either subject movement or camera shake. For handheld shooting, a general guideline is to keep your shutter speed no slower than 1/focal length (e.g., 1/50th second for a 50mm lens). However, for moving subjects, you'll need faster speeds, often pushing your ISO higher to compensate. If subjects are relatively static, or if you are using a tripod, you can experiment with slower shutter speeds to soak up more ambient light, creating a more luminous image without excessive noise.
Managing ISO and Digital Noise
ISO controls the sensor's sensitivity to light. Increasing ISO brightens your image but introduces digital noise, which manifests as graininess and color distortion. Modern cameras offer impressive high-ISO performance, but there's always a trade-off. Start with the lowest ISO possible for your desired aperture and shutter speed, then gradually increase it as needed. It's often preferable to have a slightly noisy but sharp image than a clean but blurry one. Shoot in RAW format to retain maximum detail and flexibility for noise reduction in post-processing.
Pro Tip: Many cameras allow for in-camera noise reduction settings. While useful for JPEGs, for RAW shooters, it's generally better to disable high-ISO noise reduction in-camera and apply it selectively during post-processing, as software solutions often offer finer control and preserve more detail.
Essential Gear for Low-Light Event Photography
Beyond camera settings, specific equipment choices can dramatically improve your results in challenging lighting conditions.
- Fast Lenses: As mentioned, lenses with maximum apertures of f/2.8 or wider (f/1.8, f/1.4) are indispensable. They are your primary tool for gathering light.
- Full-Frame Cameras: Cameras with larger sensors generally exhibit better high-ISO performance due to larger individual photosites, which collect more light. While not strictly necessary, a full-frame body offers a distinct advantage in noise management.
- Image Stabilization (IS/VR/OS): Lenses or camera bodies equipped with image stabilization can significantly reduce camera shake at slower shutter speeds, allowing you to handhold shots that would otherwise require a tripod.
- External Flash Units: A dedicated speedlight or strobe, used judiciously, can provide crucial fill light. Bouncing the flash off a ceiling or wall, or using a diffuser, creates softer, more natural-looking illumination than direct flash.
- Monopod or Tripod: For static shots, a monopod provides stability without the bulk of a tripod, allowing for slower shutter speeds. A tripod is essential for very long exposures or when absolute sharpness is paramount.
Focusing in Dim Conditions
Autofocus systems struggle in low light due to a lack of contrast. Here's how to improve your hit rate:
Autofocus Assist: Many external flash units and some cameras have an AF assist beam that projects a patterned light onto your subject, providing contrast for the camera's autofocus system. Ensure this feature is enabled when using an external flash.
Single-Point AF: Using a single, central autofocus point often provides the most accurate focus in challenging conditions, as it typically relies on the camera's most sensitive cross-type sensors.
Manual Focus: When autofocus consistently fails, switch to manual focus. Utilize your camera's Live View mode with magnification or focus peaking (if available) to achieve precise focus. This is particularly effective for static subjects or when pre-focusing on a specific spot where action is anticipated.
Warning: Relying solely on your camera's built-in pop-up flash for low-light events is rarely advisable. Direct, harsh light from a small source creates unflattering shadows, washes out colors, and destroys the ambient mood you're trying to preserve. Invest in an external flash and learn to bounce or diffuse it for professional results.
Post-Processing for Low-Light Images
The work doesn't end when the shooting stops. Effective post-processing is crucial for refining low-light images.
Exposure and Contrast Adjustment: In RAW files, you have significant latitude to recover detail from underexposed shadows and manage highlights. Adjust the exposure slider, then fine-tune shadows and highlights to bring out detail without introducing new noise.
Noise Reduction: Dedicated noise reduction software or built-in tools in applications like Lightroom or Capture One are invaluable. Apply noise reduction judiciously; excessive application can soften details. Often, luminance noise reduction is applied globally, while color noise reduction is more aggressive. Experiment to find the balance that preserves detail while smoothing grain.
White Balance Correction: Mixed lighting (e.g., tungsten, LED, natural light) is common at events. Using the eyedropper tool on a neutral gray or white area in your RAW file can provide a precise starting point for white balance correction, which you can then fine-tune by eye.
Sharpening: After noise reduction, images may appear slightly soft. Apply sharpening carefully, focusing on areas of detail like eyes or textures. Use masking to prevent sharpening noise in smooth, out-of-focus areas.
Refining Your Low-Light Workflow
Mastering low-light event photography requires practice and a systematic approach. Develop a pre-event checklist for gear, scout locations if possible to anticipate lighting challenges, and be prepared to adjust your settings rapidly. Prioritize capturing the moment over achieving absolute technical perfection in every shot; a slightly noisy but emotionally resonant image is often more valuable than a technically flawless but sterile one. Continuously review your images during and after the event to understand what works and what needs refinement, building your confidence and skill for future low-light assignments.
Frequently Asked Questions
What is the best camera mode for low-light events?
Aperture Priority (Av/A) is often recommended, as it allows you to control the crucial aperture setting for light gathering and depth of field, while the camera calculates an appropriate shutter speed. However, Manual mode provides full control over all exposure parameters, which can be beneficial once you gain more experience and understand the lighting conditions.
Should I always use flash in low-light events?
Not necessarily. While flash can provide essential light, it can also destroy the ambient mood. Use flash judiciously, preferably bounced off a ceiling or wall, or diffused, to create softer, more natural-looking light that complements rather than overwhelms the existing atmosphere.
How can I reduce motion blur in low-light photos?
To reduce motion blur, aim for faster shutter speeds. This often means increasing your ISO or opening your aperture wider. Image stabilization in your lens or camera body can also help counteract camera shake, allowing for slightly slower handheld shutter speeds.
Is it better to have a noisy image or a blurry image?
Generally, it is better to have a slightly noisy but sharp image than a clean but blurry one. Noise can often be reduced effectively in post-processing without significant loss of detail, whereas blur from camera shake or subject movement is much harder, if not impossible, to correct.