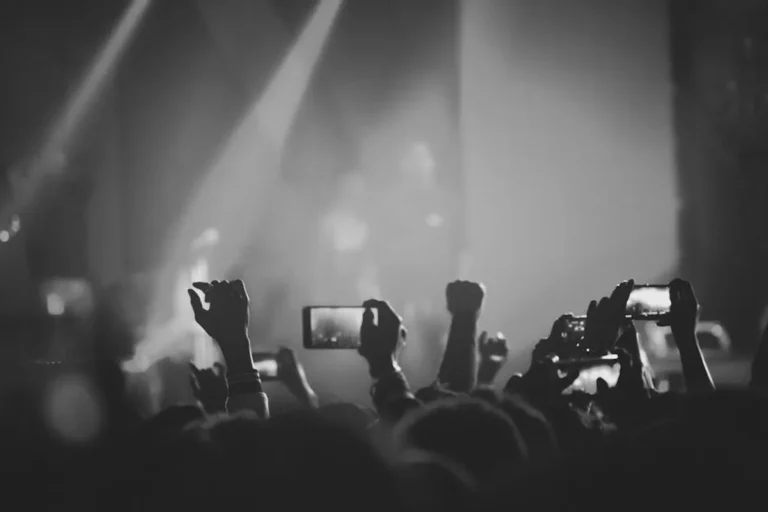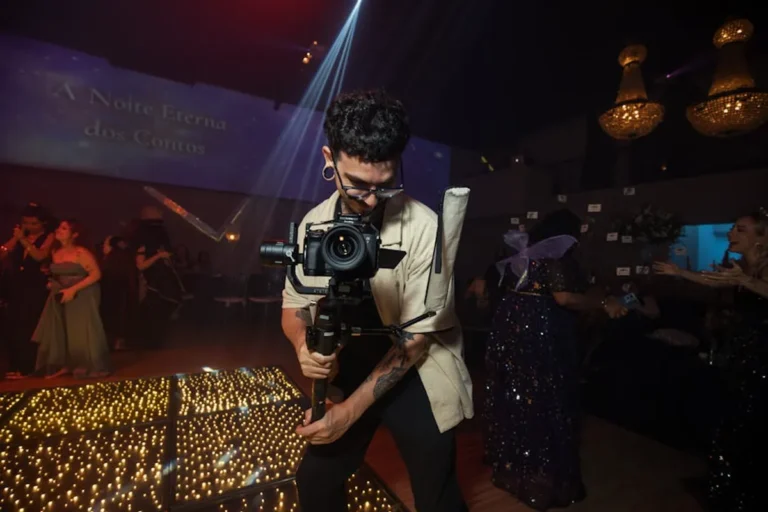
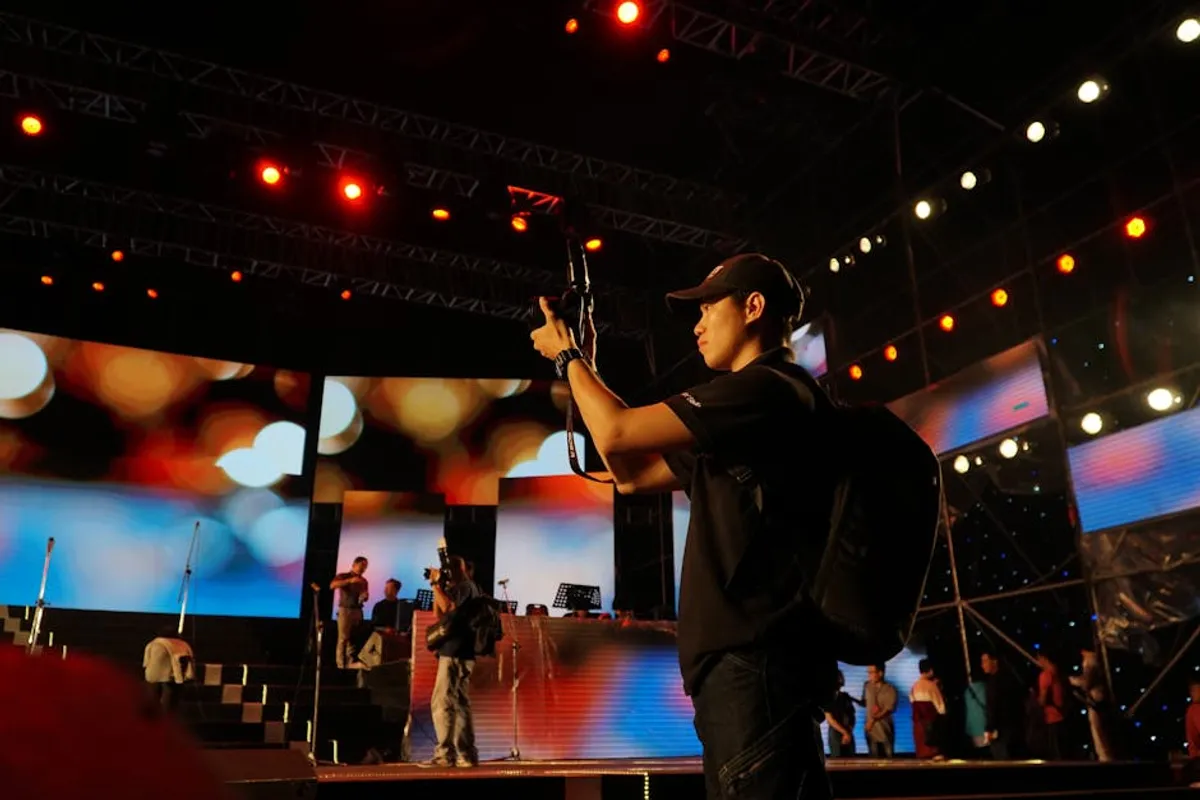
Photographing musicians on stage presents a unique set of challenges and rewards. Unlike studio work, you operate in a dynamic, often unpredictable environment characterized by low, erratic lighting, fast-moving subjects, and limited control over your surroundings. The goal is to capture the raw energy and emotion of a live performance, translating the ephemeral experience into compelling visual art. Success hinges on a combination of technical proficiency, anticipation, and respect for both the artists and the audience. This guide outlines the essential equipment, camera settings, and practical techniques necessary to consistently produce impactful concert photography. If you're new to this, understanding the core principles of photographing live events can set you up for success.
Essential Gear for Stage Photography
The right equipment forms the foundation for successful stage photography. While high-end gear offers advantages, understanding the core requirements allows for effective choices within any budget. Properly understanding the fundamentals of photographing musicians will help you make the best choices for your situation.
Camera Body: Low-Light Performance and Speed
A camera body capable of performing well in low-light conditions is paramount. This translates to models with excellent high-ISO capabilities, minimizing digital noise while retaining detail. Look for cameras that offer robust autofocus systems, particularly those with a high number of cross-type focus points and strong tracking performance (e.g., continuous autofocus modes like Canon's AI Servo or Nikon's AF-C). A fast burst rate (frames per second) is also beneficial for capturing peak action during dynamic moments.
Lenses: Aperture is Key
Your choice of lens will significantly impact your ability to gather light and isolate your subjects. Fast prime or zoom lenses are essential.
- Wide-angle lenses (e.g., 16-35mm f/2.8, 24mm f/1.4): Useful for capturing the entire stage, band interactions, or environmental shots that include the crowd. A fast aperture here helps separate the band from the background.
- Standard zoom lenses (e.g., 24-70mm f/2.8): A versatile workhorse, offering a good range for full-body shots and tighter compositions without needing to change lenses frequently. The constant f/2.8 aperture is crucial.
- Telephoto zoom lenses (e.g., 70-200mm f/2.8): Indispensable for capturing close-up portraits of individual musicians, guitar solos, or drum fills from a distance. Again, a constant f/2.8 aperture is non-negotiable for low-light performance and subject isolation.
- Fast prime lenses (e.g., 50mm f/1.4, 85mm f/1.4, 135mm f/2): While less versatile than zooms, primes offer superior light-gathering capabilities (often f/1.8 or wider) and sharper images. They excel in extremely dark venues and produce beautiful background blur.
Accessories: Preparedness Matters
Beyond the camera and lenses, several accessories are critical:
- Multiple high-speed memory cards: Live events generate many files; ensure you have ample storage and fast write speeds.
- Extra fully charged batteries: Cold temperatures and continuous shooting drain batteries quickly. Always carry at least two spares.
- Ear protection: Essential for protecting your hearing during loud performances.
- Lens cloth and blower: For cleaning dust and smudges from lenses.
- Monopod (optional): Can provide stability for heavier telephoto lenses, reducing arm fatigue.
Optimizing Camera Settings for Live Music
Mastering your camera settings is crucial for adapting to the unpredictable nature of stage lighting.
Exposure Triangle: ISO, Shutter Speed, Aperture
Your priority is to capture enough light while freezing motion. This often means pushing your ISO high, opening your aperture wide, and maintaining a fast shutter speed.
- ISO: Start at ISO 1600 or 3200 and be prepared to go higher (ISO 6400, 12800, or even 25600) depending on the venue's lighting. Modern cameras handle noise at high ISOs much better than older models.
- Shutter Speed: To freeze most stage action, aim for 1/250th of a second or faster. For drummers or guitarists mid-strum, 1/500th or 1/1000th may be necessary. Experiment with slower speeds (e.g., 1/60th or 1/30th) for intentional motion blur, but ensure your subject's face remains sharp.
- Aperture: Shoot wide open (e.g., f/2.8, f/1.8, f/1.4) to gather maximum light and create shallow depth of field, isolating the musician from the background.
Pro Tip: Shoot in Manual mode. This gives you full control over the exposure triangle, allowing you to react quickly to changing stage lighting without the camera making unwanted automatic adjustments. Monitor your histogram to ensure you're not clipping highlights or underexposing shadows.
Focusing and Metering
Accurate focus is critical for sharp images.
- Autofocus Mode: Use Continuous Autofocus (AI Servo for Canon, AF-C for Nikon) to track moving subjects.
- Autofocus Area Mode: Single-point AF allows precise targeting of a musician's face or eyes. Zone AF or dynamic-area AF can be useful for broader coverage if subjects move erratically.
- Metering Mode: Spot metering is often effective, allowing you to meter directly off the illuminated subject's face, preventing them from being underexposed by dark backgrounds or overexposed by harsh spotlights. Center-weighted average can also work if the lighting is more consistent.
White Balance and File Format
Stage lighting uses various colored gels, making auto white balance inconsistent. Setting a custom white balance or using a preset (e.g., Tungsten, Fluorescent) can provide a better starting point, but the most flexibility comes from shooting RAW.
File Format: Always shoot in RAW. This preserves the maximum amount of image data, providing significantly more latitude for correcting exposure, white balance, and recovering details in post-processing, which is invaluable given the challenging lighting conditions.
Technique, Composition, and Etiquette
Beyond gear and settings, your approach to the performance and your interaction with the environment are key.
Anticipation and Composition
Successful concert photography often comes down to anticipating moments. Observe the musicians' patterns, look for interactions, and predict peak action. Vary your compositions:
- Full-body shots: Capture the musician's stage presence and interaction with their instrument.
- Close-ups: Focus on expressive faces, hands on instruments, or unique details.
- Environmental shots: Include the crowd, stage lights, or venue architecture to convey the atmosphere.
- Angles: Experiment with low angles to emphasize power or high angles for a broader perspective.
Warning: Never use flash during a live performance unless explicitly permitted by the band or venue. Flash is distracting to musicians and the audience, and it often creates unflattering, flat lighting that destroys the ambient stage atmosphere. Rely on your camera's low-light capabilities and fast lenses instead.
Respecting the Venue and Artists
Obtaining permission (a photo pass) is often necessary for professional-level access. Once granted, adhere strictly to any rules regarding shooting locations, time limits (e.g., "first three songs, no flash"), and equipment restrictions. Always be mindful of the audience; avoid blocking views or being disruptive. Your presence should be as unobtrusive as possible.
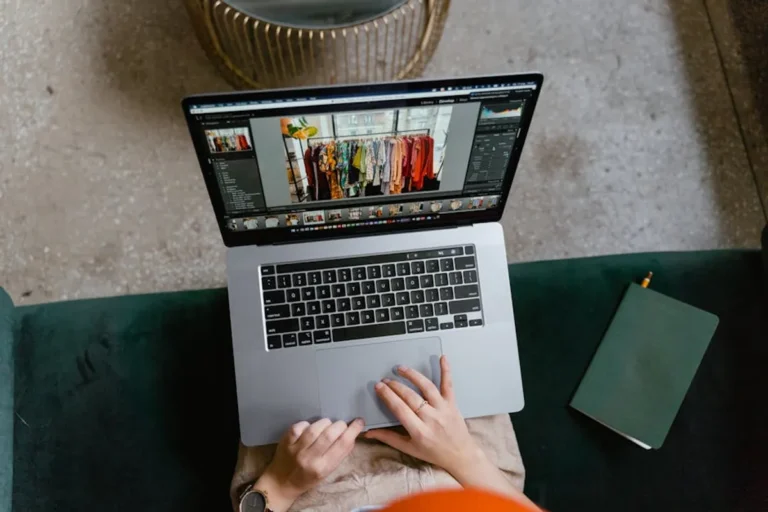
Post-Processing Your Images
Concert photography requires significant post-processing due to the challenging capture conditions. Shooting in RAW makes this process much more effective.
Focus on:
- Exposure adjustment: Fine-tuning brightness and contrast.
- White balance correction: Neutralizing color casts from stage lights.
- Highlight and shadow recovery: Bringing back detail in overexposed lights and underexposed dark areas.
- Noise reduction: Minimizing grain from high ISOs while preserving detail.
- Cropping and straightening: Refining composition.
- Color grading: Enhancing the mood and atmosphere of the image.
Mastering the Art of Live Music Photography
Photographing musicians on stage is a continuous learning process. Each venue, band, and lighting setup presents new challenges. Consistent practice, critical self-evaluation, and a deep understanding of your equipment will refine your skills. Focus on capturing the emotional core of the performance, tell a visual story, and respect the live experience. The most compelling images often come from photographers who are not just technically proficient but also deeply connected to the music itself.
Frequently Asked Questions
What is the most critical piece of equipment for concert photography?
A fast lens (with an aperture of f/2.8 or wider) is arguably the most critical component, as it allows your camera to gather maximum light in dark conditions and achieve sharp focus on moving subjects.
Should I use a flash when photographing musicians on stage?
No, typically not. Flash is generally prohibited at live music events as it distracts performers and the audience, and it often produces harsh, unnatural lighting that detracts from the stage atmosphere. Focus on using your camera's high ISO capabilities and fast lenses instead.
What are good starting camera settings for a dark venue?
Begin with your camera in Manual mode, an aperture wide open (e.g., f/2.8), a shutter speed of at least 1/250th of a second (faster for very active subjects), and adjust your ISO upwards (starting around 3200-6400) until you achieve a proper exposure.
How do I get permission to photograph a band at a concert?
To obtain official permission, often called a photo pass, you typically need to contact the band's publicist, manager, or the venue's press contact well in advance of the show. Many venues also have house photographers or specific media policies.